


5% discount
Prices incl. VAT plus shipping costs
available,
Delivery time appr. 1-2 working days
- Order number: 02072heat301
Reliable heavy-duty carbon seat heating, type HEAT301 for a vehicle seat with 3-stage temperature setting via a button. Suitable for installation under the leather upholstery of the backrest and the seat cushion.
features
- Set designed for a seat with backrest and seat cushions
- Very fast and homogeneous heating behavior
- Heating elements adaptable to seat geometry
- Installation possible on leather seat covers
- Three heat levels switchable, 18/35/50 watts via push button
- Integrated overheating protection
- Set is designed for installation in seat upholstery
- Complete set for one seat including buttons and wiring
delivery
- Universal heating element 480x270mm (2x)
- Wiring harness with relay
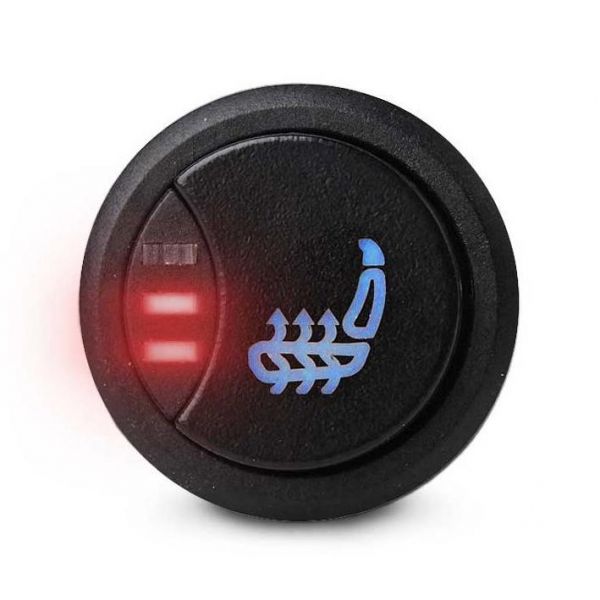
- Button (3/2/1 / Off) with red LED
- Fuse holder with fuse
- 4 double-sided adhesive strips for mounting
- Installation instructions and small parts
Relevant European directives:
- 2011/65 / EU
- 2014/30 / EU
- 2014/35 / EU
Relevant standards:
- EN 50498: 2010
- EN 50581: 2012
- EN 62368-1: 2014
cable assignment
- Black: mass (body)
- Red: + 12V (class 30)
- Yellow: ignition (class 15)
- Green: Lighting
- Cable length 340cm
safety instructions
1. Please observe the following safety instructions and carry out all installation steps carefully and completely, since non-observance can lead to material, property and personal injury. The installation is only to be carried out by specialist workshops!
2. First, check whether it is possible to install the mats as follows:
a) For seats with glued covers installation is complicated or not possible.
b) Installation with longitudinal trenches is not possible.
c) For seats with a middle track below 270mm width, installation is not possible as the edges must end in front of the lateral longitudinal trenches.
3. Observe the instructions of the vehicle manufacturer with existing seat occupancy recognition!
4. Observe the instructions of the vehicle manufacturer with existing belt tensioners!
5. Observe the instructions of the vehicle manufacturer with existing side airbags in the seat back!
a) Seat covers and seams must not be changed.
b) Heating mats may only be applied in the middle part of the foam cushion.
6. Make sure that the electrical system and the cable cross-sections are suitable for the additional current loads based on the circuit diagram of the motor vehicle.
7. Check that there is a suitable place to install the switches
8. Use only the original components included in the delivery!
9. The heating elements must not be shortened in width. Longitudinal cuts are not allowed. Narrow transverse cutouts are possible, as well as shortening the mat on the cable opposite end! (Fig. 1)
10. The heating mats can be placed through the transverse ditches of the foam padding, but edges of a transverse cutout must end before the trenches.
11. The carbon fibers must not be in contact with electrically conductive components, such as upholstery clips or seat frames. Isolate cutting edges with fabric adhesive tape.
12. Do not damage the electrodes on the transverse cutouts. Keep a minimum distance of 40mm from the edge of the page. (Fig. 2)
13. The carbon fibers, which usually project laterally from the mats a few millimeters, must under no circumstances come into contact with electrically conductive components. Also, any contact with guy wires in the compressed state must be avoided!
14. The heating elements must be securely fixed (eg suitable spray adhesive) and installed without creases, otherwise there is a risk of fire!
15. Make sure that the heating elements are not damaged during installation. Possible causes are upholstery clips, auxiliary tools or sharp-edged seat frames.
16. When gluing the heating elements, the molded body must be free of silicone, grease and dust. Complete bond strength is obtained by sufficient contact pressure and sufficient exposure time. It usually takes a few hours. A completely installed heating element must not be loosened and reinstalled.
17. When laying and fastening the cables correctly, make sure that the seat can be easily moved in the guide rails!
18. Contact with sharp edges, kinks and tensile stresses should be avoided in order not to damage the cable insulation!
19. Make a note of volatile memory codes (radio, navigation, etc.) and disconnect the battery before working on the vehicle electrics to connect the heating elements!
20. The heating temperature varies depending on seat and cover material.
21. In case of failure please check the fuse first!
22. Explain the functionality and safety aspects of the handover to the customer.
warnings
Observe the safety instructions and requirements prescribed by the vehicle manufacturer and the motor vehicle trade! The manufacturer assumes no liability for possible damages in the following cases:
Assembly or connection error
Damage to the product due to mechanical influences and overvoltages
Changes to the product without the express permission of the manufacturer
Use for purposes other than those described in the manual
Danger!
Always disconnect the negative terminal before working on the vehicle electrics due to the risk of short circuits. For vehicles with additional battery, you must also disconnect the negative terminal at this.
Warning!
Insufficient wiring can result in a short circuit
Cable fires occur,
an airbag is triggered,
electronic control devices are damaged,
electrical functions fail (turn signal, brake light, horn, ignition, light).
Warning!
Safety note : Failure to do so may result in death or serious injury.
Danger!
Failure to observe this may result in material damage and impair the function of the product.
Note
When working on the following cables, only use insulated cable lugs, plugs and blade receptacles: terminal 15 (switched plus, behind battery)
Never use luster terminals or branch connectors (current thieves).
The safest way to connect is to solder the cable ends together and then insulate them. For detachable connections, use only insulated cable lugs, plugs and blade receptacles. Do not use crimp connectors (cable connectors) or luster terminals. Use a crimping tool to connect the cables.
Unscrew the cable when connecting to line 31 (ground)
- with cable lug and toothed washer to an on-board ground screw or
- with cable lug and sheet metal screw to the body panel.
Always pay attention to a good ground connection!
When the negative pole of the battery is disconnected, all volatile memories of the comfort electronics lose their stored data. The following data must be set according to the vehicle equipment: radio code, vehicle clock, on-board computer, seat position. You will find information on setting in the respective operating instructions of the vehicle.
Replaces the predecessor
heat300. HEAT300
| quantity: | 1 piece |
| Product group: | Sitzheizung |